Deploy Dashy — A Clean, Self-Hosted Homelab Dashboard

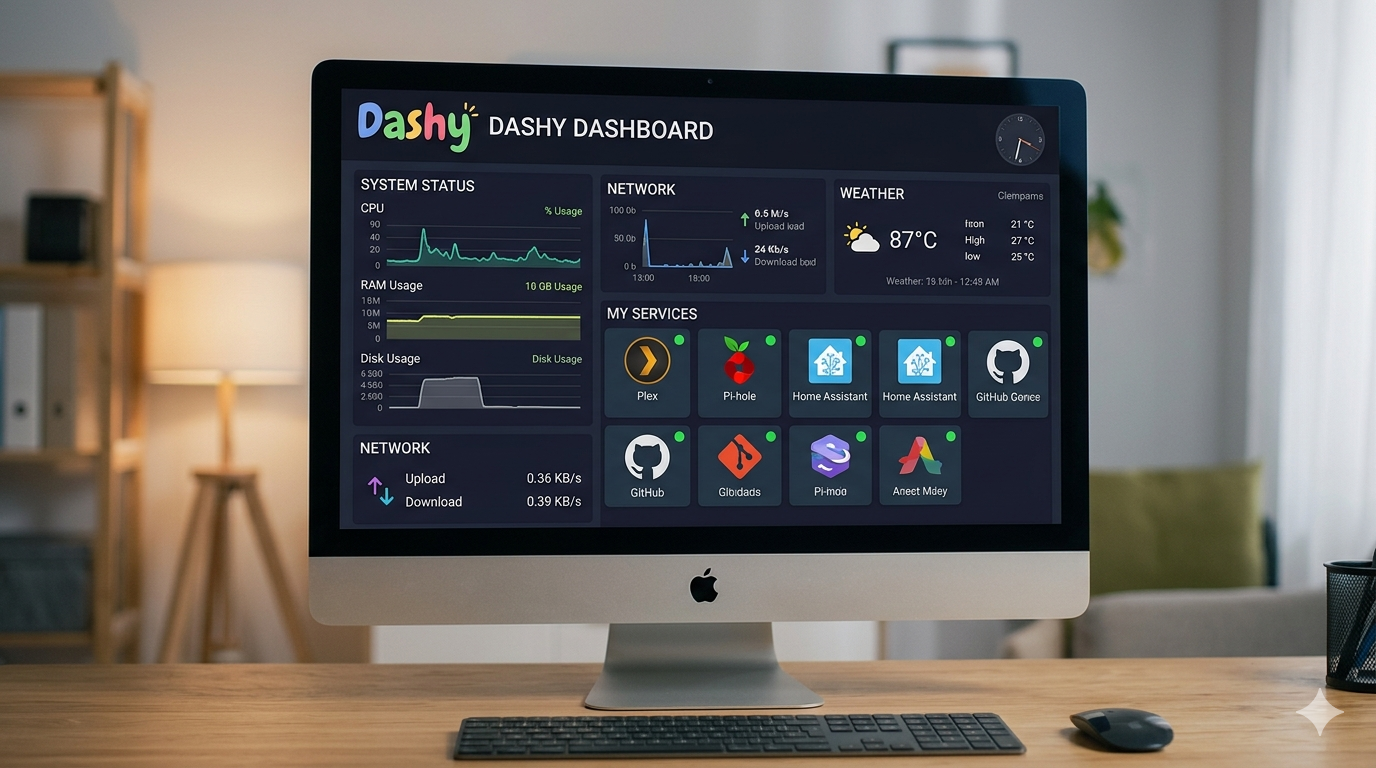
If you're running a homelab, you know the struggle: services scattered across different ports, IPs you can never quite remember, and browser bookmarks that spiral out of control. Dashy solves all of that with a beautiful, self-hosted dashboard that puts everything in one place — and it takes less than five minutes to get running.
What is Dashy?
Dashy is an open-source, highly customizable homepage for your homelab. It lets you organize all your self-hosted services into a clean, icon-rich dashboard accessible from any device on your network. You can group services into sections, add status indicators, set up authentication, and even theme it to match your style.
No account required. No cloud dependency. Just you, Docker, and a single config file.
Requirements
Before you start, make sure you have Docker and Docker Compose installed on your machine.
If you haven't set those up yet, I've written a dedicated guide covering the full installation process: 👉 Easy Docker and Docker Compose Install on Linux Machine
Option 1 — Quick Start with a Single Docker Command
If you just want to spin it up and poke around, a single docker run command is all you need:
bash
docker run -p 8080:8080 lissy93/dashyThis pulls the latest Dashy image and maps it to port 8080 on your host. Open your browser and hit http://<your-server-ip>:8080 to see it live.
Option 2 — Docker Compose (Recommended)
For anything beyond a quick test, Docker Compose is the way to go. It gives you a persistent config file, automatic restarts, health checks, and a cleaner setup you can version-control.
Step 1 — Create the Config File
This is the most important step and easy to miss. Dashy requires a config file to exist before the container starts. If you skip this, the container will fail or throw errors on first run.
Create the directory and config file:
bash
sudo mkdir -p /dashy
sudo nano /dashy/conf.yml
Paste in this minimal starting config:
yaml
pageInfo:
  title: Dashy
sections: []
Save and close. That's all you need to get Dashy to boot — you can configure everything else from the UI later.
Step 2 — Create the Docker Compose File
Create a docker-compose.yml wherever you manage your stacks (e.g., /opt/dashy/):
yaml
services:
  dashy:
    image: lissy93/dashy:latest
    container_name: Dashy
    volumes:
      # Map your local config file to the container
      - /dashy/conf.yml:/app/user-data/conf.yml
    ports:
      - 8080:8080
    environment:
      - NODE_ENV=production
    restart: unless-stopped
    healthcheck:
      test: ['CMD', 'node', '/app/services/healthcheck']
      interval: 1m30s
      timeout: 10s
      retries: 3
      start_period: 40s
A few things worth noting about this config:
volumes— Maps your local/dashy/conf.ymlinto the container so your configuration persists across restarts and updates.restart: unless-stopped— Dashy comes back up automatically after a reboot or Docker daemon restart.healthcheck— Docker will periodically ping Dashy's built-in healthcheck endpoint. If it fails repeatedly, Docker will flag the container as unhealthy, making it easy to spot issues.
Step 3 — Start the Container
bash
docker compose up -dThe -d flag runs it in detached mode (in the background). Docker will pull the image if it's not already cached and start the container.
Step 4 — Open the Dashboard
Open your browser and navigate to:
http://<your-server-ip>:8080You should see the Dashy dashboard — empty for now, but ready to be filled with all your homelab services.
Configuring Your Dashboard
Once it's running, you have two ways to configure Dashy:
- UI Editor — Click the pencil icon in the top-right corner of the dashboard. You can add sections, services, icons, and links through a visual interface. When you save, it writes directly back to your
conf.ymlfile. - Edit
conf.ymldirectly — Preferred if you like keeping your config in Git or want to bulk-add services. After editing, restart the container for changes to take effect:
bash
docker compose restartTips
- Icons — Dashy has built-in support for Simple Icons and Material Design Icons, so most popular self-hosted apps already have a matching icon available.
- Status indicators — Dashy can ping your services and show a live status dot on each tile. Enable it per-item with
statusCheck: truein your config. - Reverse proxy — For accessing Dashy (and your other services) without typing port numbers, pair it with a reverse proxy like NGINX Proxy Manager or Caddy.
- Backups — Since everything lives in
/dashy/conf.yml, just back up that one file and you can restore your entire dashboard anywhere.
Dashy is one of those tools that quietly becomes essential in a homelab. Once you have it set up, you'll wonder how you kept track of everything before. Give it a spin and start adding your services — the more you add, the more useful it gets.